Best Camera Settings for Porto Streets: A 2025 Guide
Master your street photography in Porto for 2025. Learn the best camera settings for stunning shots of the city's vibrant streets. Get expert tips and start shooting!
On this page
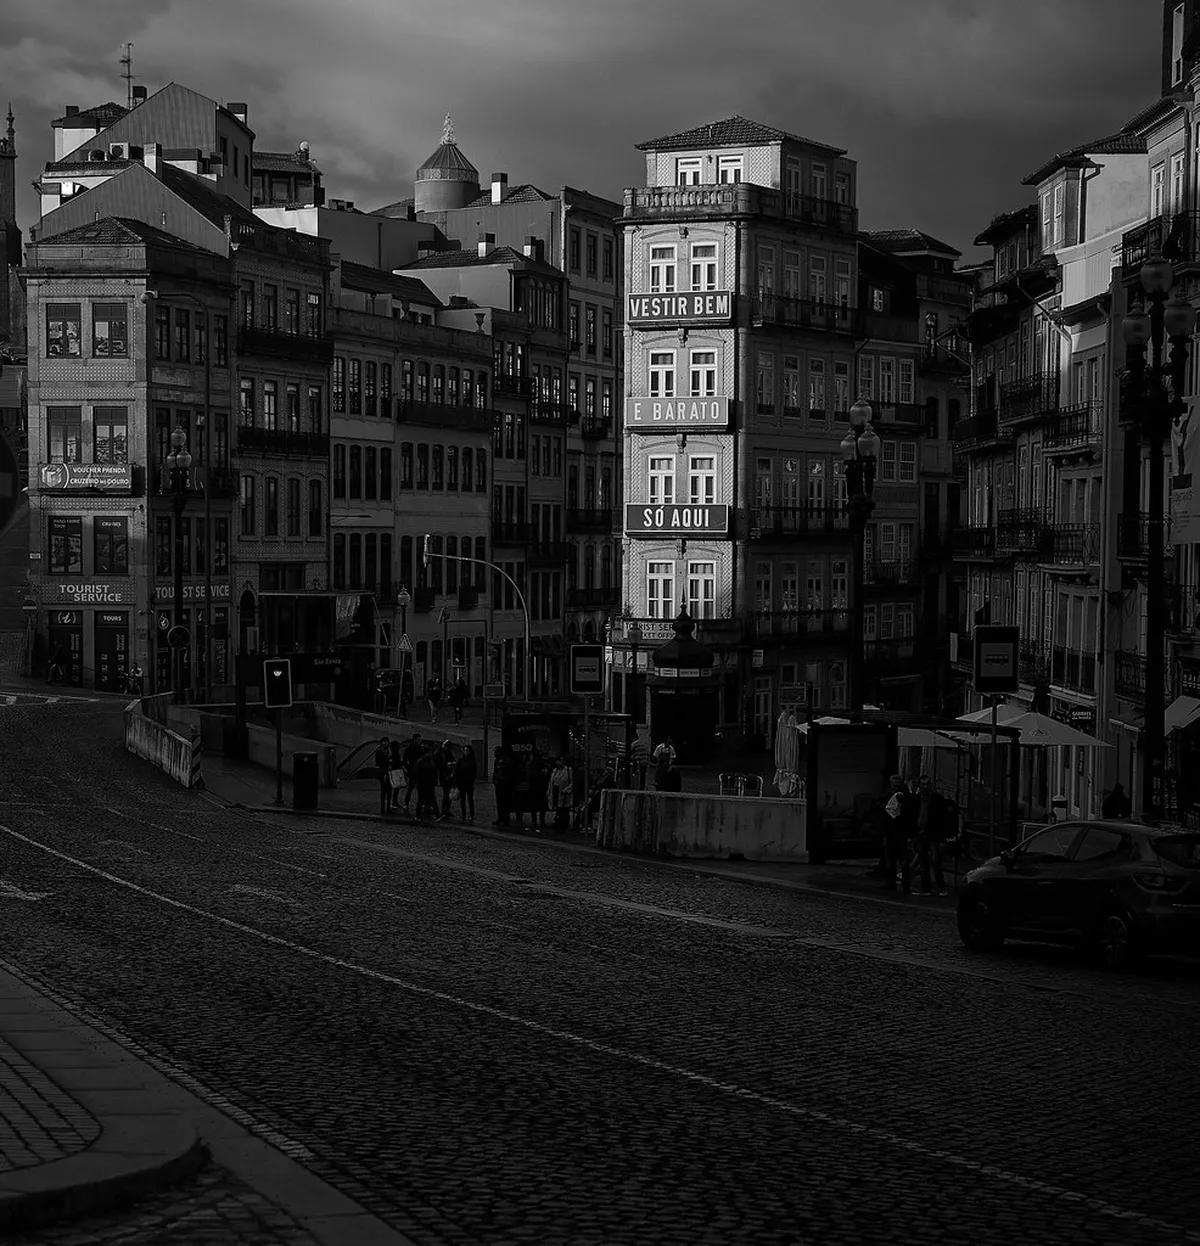
Porto, Portugal, offers a photographer's dream. Its narrow alleys and colorful buildings provide endless opportunities. Capturing this beauty requires the right camera settings. This guide shares the best camera settings for Porto streets, ensuring stunning photos in 2025.
Understanding your camera helps immensely. Porto's diverse light demands flexibility. From the bright riverside to dark alleyways, adjust your approach. Learn how to master Porto street photography with our expert advice. Let's dive into optimizing your shots.
Mastering Aperture and Shutter Speed for Porto
Aperture controls your depth of field. For wide street scenes, use f/8 to f/11. This keeps everything sharp, from foreground to background. You will capture the full detail of Porto's most beautiful streets. Consider f/2.8 to f/4 for isolating subjects like street performers.
Shutter speed freezes or blurs motion. Aim for 1/250s or faster for sharp people shots. This is ideal for busy areas like Cais da Ribeira. To show movement, try 1/30s to 1/60s. This adds a dynamic feel to walking crowds or passing trams.
Experiment with both settings. A wider aperture (smaller f-number) needs a faster shutter speed. This balance prevents overexposure in bright daylight. Porto's varied lighting requires constant attention. Always check your histogram for proper exposure.
For example, at Cais da Ribeira, a setting of f/8 and 1/250s is a great starting point. This ensures crisp details of the river, boats, and distant buildings. Adjust as light changes throughout the day.
ISO and White Balance: Capturing Porto's Unique Light
ISO determines your camera's light sensitivity. Keep ISO as low as possible for best image quality. ISO 100 or 200 works well in bright conditions. High ISO introduces noise, which degrades photo quality. This is especially true in darker areas.
Porto's charming narrow alleys often lack light. Here, you might need ISO 400-800. For very low light, like during blue hour, go up to ISO 1600. Always balance ISO with your other settings. Avoid pushing it too high.
White Balance ensures accurate colors. Auto White Balance (AWB) works well most of the time. However, specific lighting conditions might benefit from manual adjustments. "Cloudy" or "Shade" settings warm up your images. This can be great for golden hour spots in Porto. They enhance the city's natural warmth.
Consider setting a custom white balance for consistency. This is useful for scenes with mixed lighting. Porto's bright sun, deep shadows, and reflective surfaces often challenge auto settings. A custom setting gives you more control over the final look.
Focusing and Metering for Sharp Porto Shots
Accurate focusing is critical for sharp images. Use single-point autofocus for precise subject selection. This is ideal when photographing specific people or details. For moving subjects, switch to continuous autofocus. This helps keep fast-moving trams or cyclists in focus.
Pre-focusing is a valuable technique for street photography. Set your focus distance in advance for a specific spot. Then, wait for your subject to enter that zone. This method works well on Porto's cobbled streets where action can be unpredictable. It ensures you don't miss key moments.
Metering modes help determine proper exposure. Evaluative (matrix) metering is often a good default. It analyzes the entire scene for an average exposure. For challenging light, like a bright sky with dark subjects, use spot metering. This allows you to expose specifically for your main subject.
Exposure compensation is your friend. Use it to fine-tune brightness. If your photo looks too dark, increase exposure compensation (+0.3 to +0.7 EV). If it's too bright, decrease it. This is particularly useful when shooting Porto's colorful houses under harsh sunlight. They can sometimes fool your camera's meter.
Frequently Asked Questions
What is the best lens for Porto street photography?
A versatile prime lens like a 35mm or 50mm is often ideal. It encourages you to move and compose thoughtfully. Zoom lenses, such as a 24-70mm, offer flexibility. They let you adjust composition without changing position. Both can capture the essence of Porto.
Consider a wide-angle lens for grand streetscapes. This is perfect for capturing the scale of Avenida dos Aliados. For unique details, a telephoto lens might work. Always choose a lens that fits your personal style. Remember to respect Porto street photography etiquette.
Should I use manual mode for street photography in Porto?
Manual mode gives you full creative control. It allows precise adjustments for aperture, shutter, and ISO. This is excellent once you understand light. It helps achieve a consistent look.
However, aperture priority (Av or A) is often recommended. You set the aperture, and the camera picks the shutter speed. This is faster for changing street scenes. It lets you focus on composition. Learn more about Porto's azulejo art to practice composition.
How do I photograph Porto's famous azulejos on the streets?
To photograph azulejos, focus on even lighting. Overcast days or shaded areas work best. This minimizes harsh reflections. Use a medium aperture (f/5.6-f/8) for sharpness. This captures the intricate tile details.
Consider a polarizing filter to reduce glare. This enhances the color saturation of the tiles. Ensure your white balance is accurate. This preserves the true blues and whites of the Porto azulejo street art.
Mastering your camera settings transforms your Porto photos. Experiment with aperture, shutter speed, ISO, and white balance. These adjustments capture the city's vibrant character. Porto's unique light and dynamic streets demand thoughtful photography.
Take these tips and apply them during your visit in 2025. Practice makes perfect, and Porto offers endless inspiration. Explore more historic streets in Porto and create your stunning visual stories.
Key Takeaways
- Use f/8-f/11 for sharp streetscapes and 1/250s+ for freezing motion.
- Keep ISO low (100-400) for quality, increasing only in low light (max 1600).
- Employ single-point focus for precision and exposure compensation for tricky light.